This tutorial builds upon the previous tutorial and its use of Eclipse. Note that you are not required to use Eclipse to complete the exercises presented on this site. However, as this tutorial will demonstrate, by doing so you will find development, compiling, and debugging your programs much easier by using Eclipse.
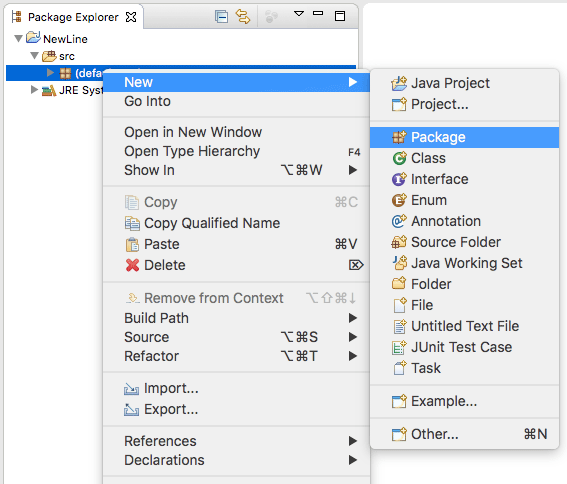
- Open Eclipse and expand the NewLine project, src, and then right-click Default Package. Select New, Package from the popup menu.
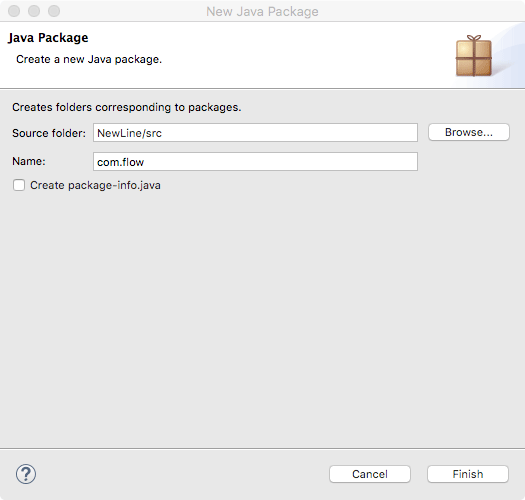
- Name the package com.flow and click the Finish button.
- Right click the newly created package and create a new class names NewLine.
- Create the newLine and threeLine methods as follows.
public static void newLine(){
  System.out.println();
}
public static void threeLine(){
  newLine();
  newLine();
  newLine();
}
- Add the following code to the main method.
public static void main(String[] args) {
  System.out.println("First line.");
  threeLine();
  System.out.println("Second Line.");
}
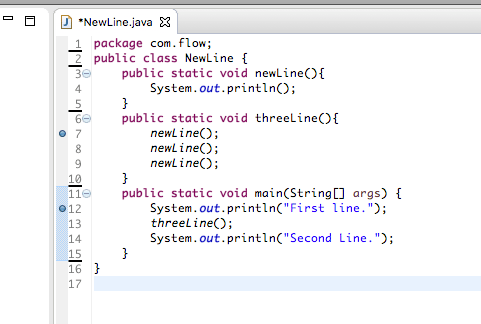
The final file should appear as follows.
package com.flow;
public class NewLine {
  public static void newLine(){
    System.out.println();
  }
  public static void threeLine(){
    newLine();
    newLine();
    newLine();
  }
  public static void main(String[] args) {
    System.out.println("First line.");
    threeLine();
    System.out.println("Second Line.");
  }
}
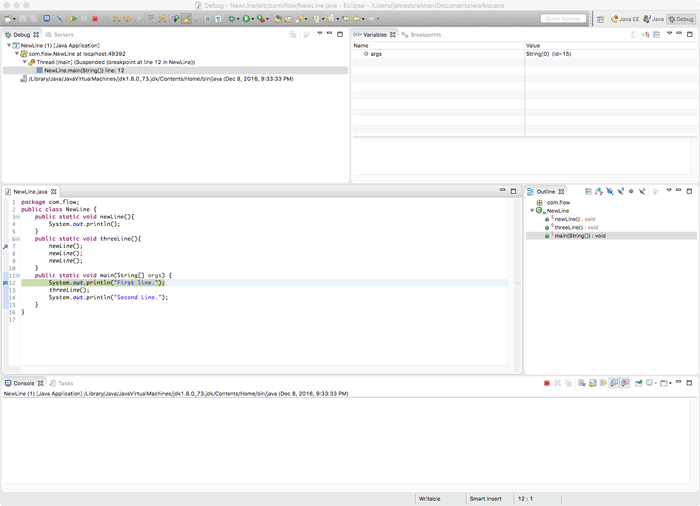
- Rather than run the program, let’s step through the code in debug mode. Place a breakpoint on lines 12 and seven. Or the first line in the main method and the first line in the threeLine method.
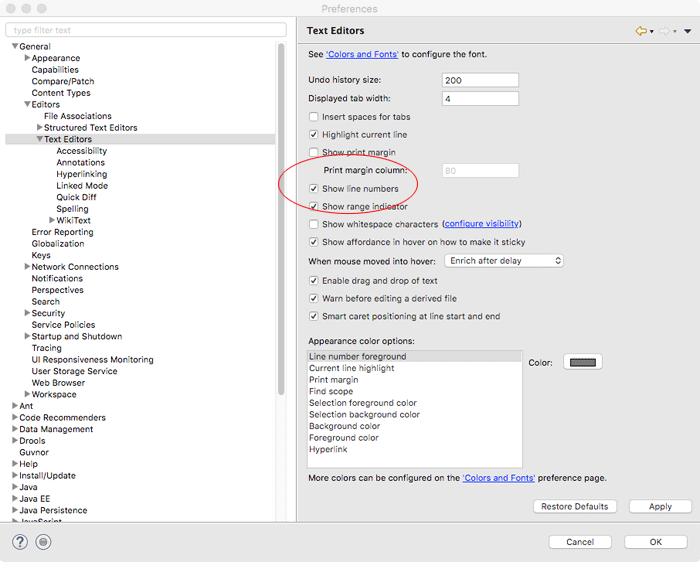
 If the line numbers are not visible in Eclipse, go to Settings, then expand General, Editors, Highlight Text Editors, and ensure the Show line numbers option is checked.
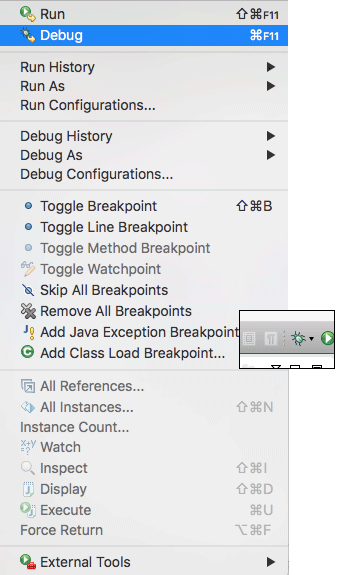
- Click the debug button or select Debug from the Run menu.
 The program pauses execution at the first breakpoint.
- Click the Step Over button to move to the next line.

As this tutorial demonstrates, using Eclipse is much easier than the command-line. If you wish using Eclipse, simply replace the “compile and run” instructions that show the command-line with the steps you take in Eclipse.


