
This tutorial presents Eclipse. The tutorials on this site almost exclusively use the command-line or DrJava. However, you should have a basic understanding of Eclipse and so the next couple tutorials introduce you to Eclipse.
- Open Eclipse.
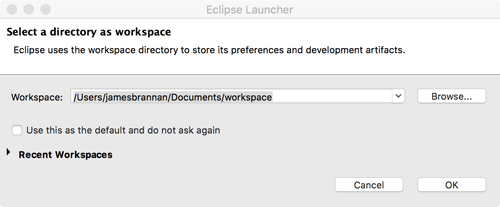
- Accept the default workspace by clicking the OK button.
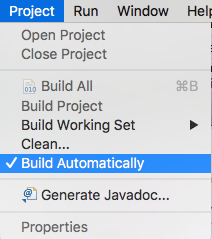
- Ensure Eclipse is configured to build automatically by ensuring the Build Automatically option in the Project menu is checked.
- From the File menu, select New->Other.
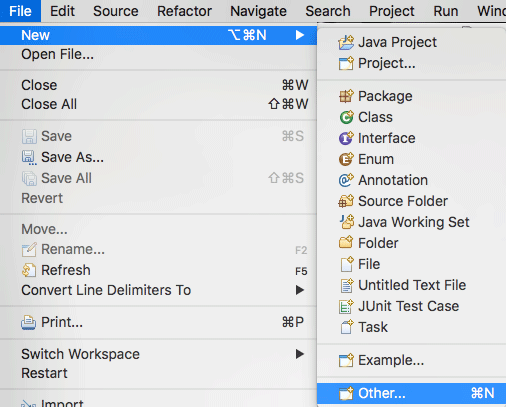
- From the popup window, expand Java and select Java Project. Click the Next button.

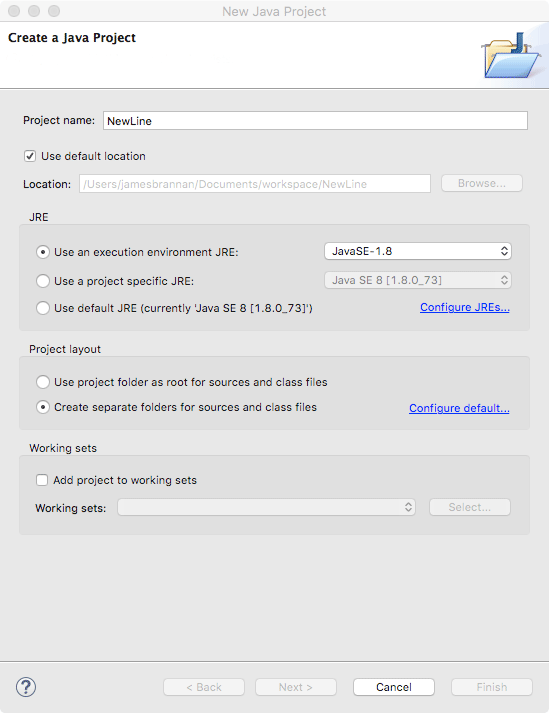
- Name the project NewLine and click the Next button.
- Click the Finish button.
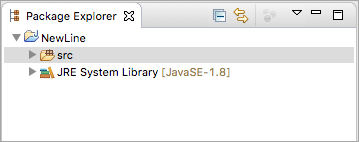
- In the left window, expand NewLine and highlight src.
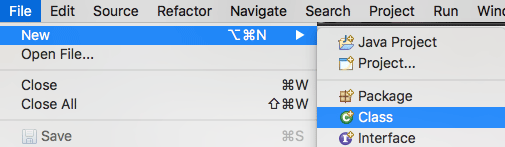
- From the File menu, select New->Java Class.
- Name the new class NewLine and be certain the checkbox indicating you would like to create the main method is checked.
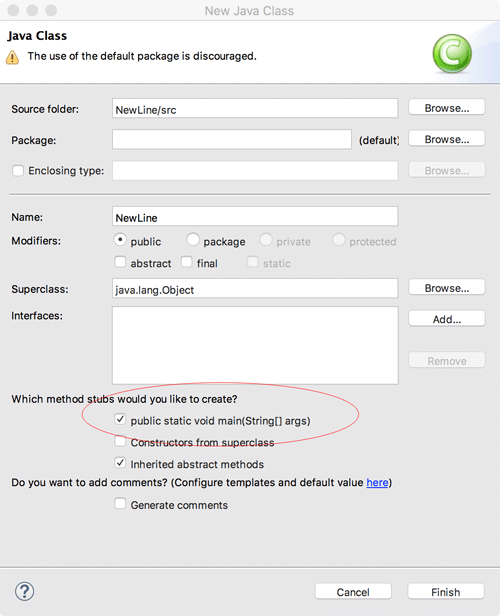
- Click the Finish button.
- Within the NewLine class, create the following method. Be certain you do not place it within the main method.
	public static void newLine(){
		System.out.println();
	}
- Within the main method, add the following three statements.
System.out.println("First Line.");
newLine();
System.out.println("Second line.");
- As Eclipse is configured to build automatically, the project should be compiled if you made no mistakes and you are not required to manually compile the class.
- Either click the Run button
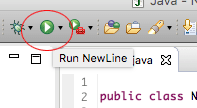 or select Run from the Run menu.
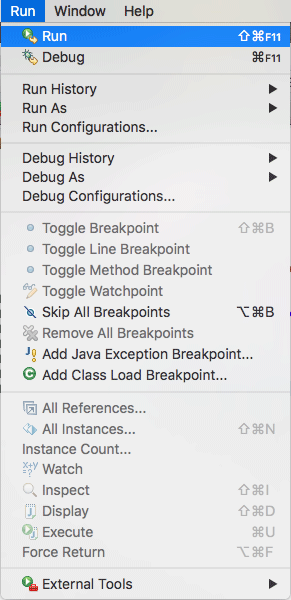
The output should appears as follows.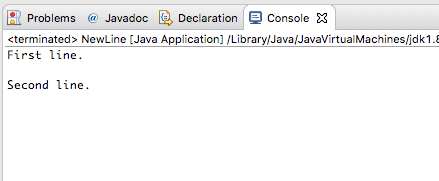
The complete program should appear as follows.
public class NewLine {
	public static void newLine(){
		System.out.println();
	}
	public static void main(String[] args) {
		System.out.println("First line.");
		newLine();
		System.out.println("Second line.");
	}
}

